
So you want to start streaming. Maybe you've been watching your favorite streamers and thinking "I could do that," or maybe you just want to share your gaming sessions with friends. Either way, you're about to discover that starting a stream is way simpler than the internet makes it look.
Search "streaming setup" right now and you'll find lists recommending $3,000 worth of equipment before you've even gone live once. Here's what those guides won't tell you up front: you don't need most of that gear. Not now, probably not ever.
The truth? You can start streaming today with equipment you likely already own, plus maybe $50-100 for one key upgrade. Everything else the fancy lights, the Stream Decks, the expensive cameras those are nice to haves that successful streamers add gradually, not requirements for starting.
This guide will show you exactly what you need to start streaming (it's less than you think), what actually improves your stream quality (hint: it's not what most people buy first), and how to spend smartly as you grow. Let's break it down.
What Do You Need to Stream? The Five Essentials
Every streaming setup, whether it costs $100 or $10,000, needs these five things:
Something to stream from. Your gaming PC, PlayStation 5, Xbox, or even your phone. If you're reading this right now, you probably already have this covered.
A way to capture and broadcast. Free software like OBS Studio handles this. We'll show you which one to pick and how to get started.
A microphone. This is where you'll spend your first $50-150. Your voice is the most important part of your stream, and we'll explain exactly why in a minute.
A camera. So viewers can see you. Your laptop's built-in webcam works fine to start.
Internet that can handle it. You'll need at least 6-8 Mbps upload speed for smooth 1080p streaming. Check your internet speed right now at fast.com to see where you stand.
Starting Point: Your Computer or Console
Let's talk about what you're streaming from, because this determines everything else.
If you're streaming from PC: You need a decent processor (at least 6 cores, like an Intel i5-12600K or AMD Ryzen 5 5600X), 16GB of RAM, and an NVIDIA graphics card (GTX 1650 Ti or better). This handles 720p streaming while you game. Want to stream 1080p at 60fps? You'll want an 8-core processor and an RTX 3060 or better.
Here's the good news: if you have an NVIDIA RTX graphics card (20-series or newer), it has built-in streaming hardware called NVENC. This means your computer can stream and game at the same time without tanking your frame rates. Older setups used to require two computers to do this—now one handles it easily.
If you're streaming from console: Your PS5 or Xbox Series X can stream directly to Twitch without any extra equipment. Just press share, pick Twitch, and go live. But there's a catch—it only works for Twitch (not YouTube), maxes out at 1080p with lower quality than it should, and you can't add overlays or alerts.
Most serious console streamers pick up a capture card after a few weeks. It lets you use full streaming software with all the features. We'll cover those in a bit.
Picking Your Streaming Software
You need software that captures your game, your camera, your mic, and broadcasts it all to Twitch or YouTube. Two options work best for beginners:
OBS Studio (Free) is what most streamers use. It's completely free, incredibly powerful, and uses less of your computer's resources than anything else. The downside? It looks intimidating when you first open it. Expect to follow a setup tutorial, but once you get it working, you'll have professional-level control.
Streamlabs Desktop (Free with paid option) makes everything simpler. It includes built-in alerts, overlays, and widgets that normally take time to set up in OBS. The free version works great, though it uses more CPU power than OBS. If you want premium features like multistreaming, Streamlabs Ultra costs $149/year.
Our recommendation: Start with Streamlabs if you want to go live quickly with minimal setup. Once you're comfortable streaming and want more control, switch to OBS Studio. Most streamers make this transition within a few months.
Why Audio Matters More Than Everything Else
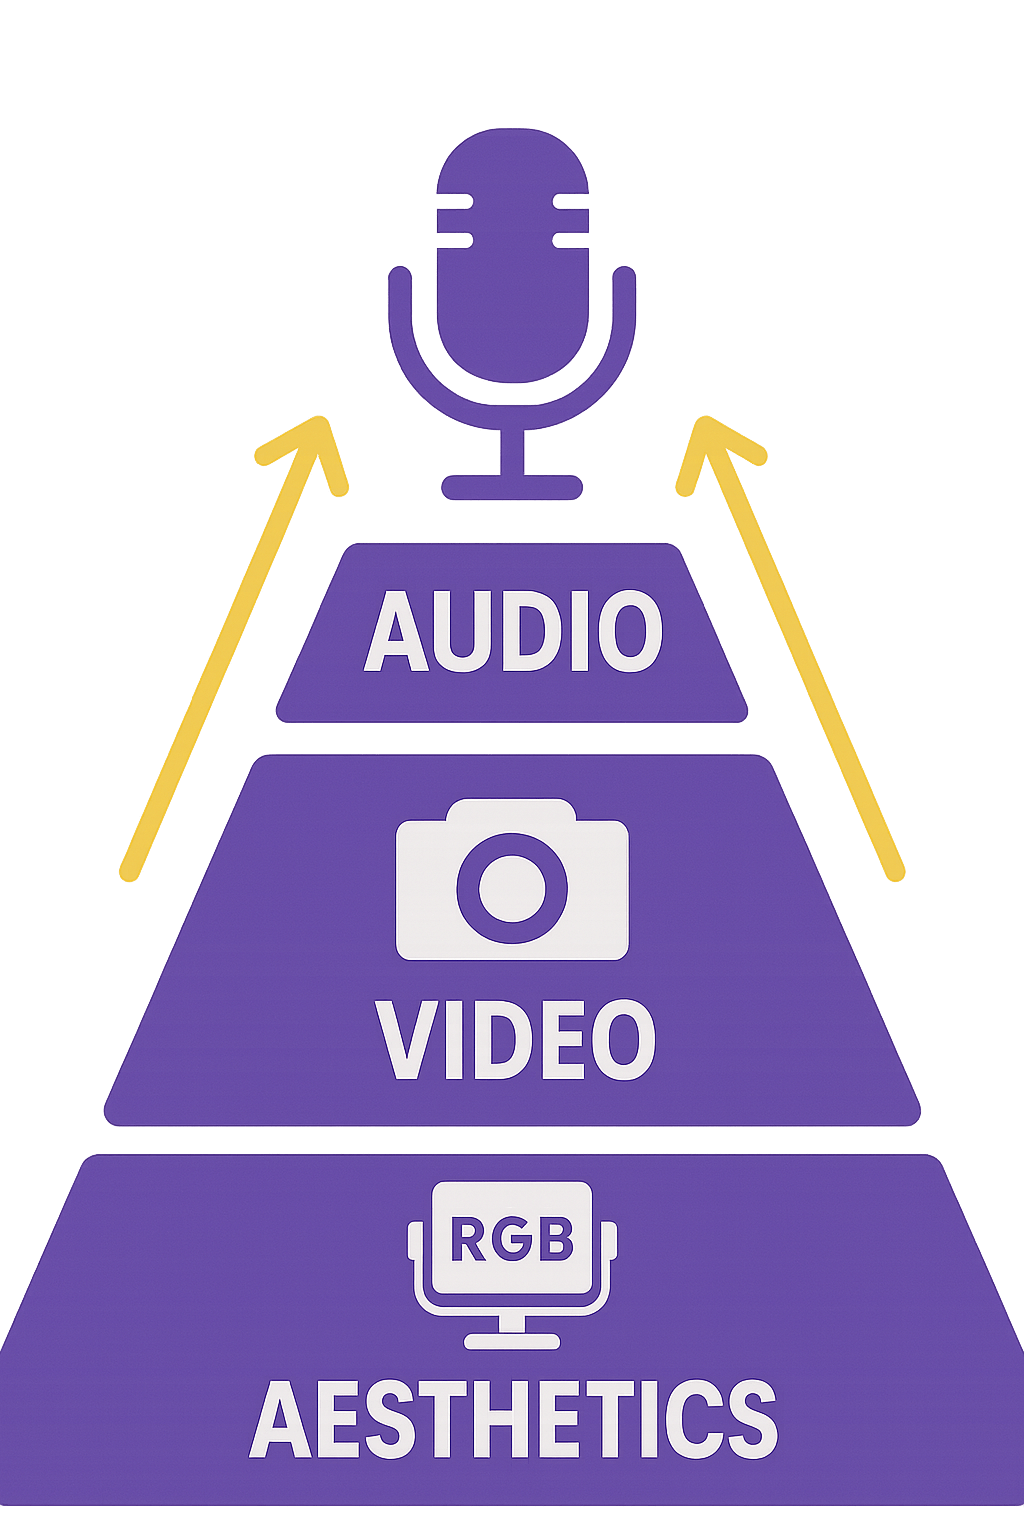
Here's something that surprises every new streamer: your audio quality matters 10x more than your video quality.
Think about it—you've probably watched streams where the video was grainy or the camera angle was weird, but if the streamer's voice was clear and easy to hear, you stuck around. Now think about a stream where the video looked amazing but the audio was echoing, crackling, or getting drowned out by background noise. You probably left within 30 seconds.
Your viewers will tolerate basic video. They won't tolerate bad audio. This is why your first real equipment purchase should always be a microphone, not a camera.
Choosing Your Microphone
Budget starter ($25-50): The Fifine K669B ($25-40) or Blue Snowball iCE ($50) will make you sound dramatically better than any built-in laptop mic or gaming headset. These are USB microphones—you just plug them in and they work. Start here.
The sweet spot ($100-150): Once you're streaming regularly and want to upgrade, the Blue Yeti ($130) is legendary for a reason. It's been the go-to streaming mic for over a decade because it just works. The Audio-Technica AT2020USB+ ($99-119) delivers slightly better sound quality and includes a headphone jack for monitoring yourself. The Shure MV6 ($149) adds automatic audio leveling that makes you sound great without fiddling with settings.
Skip the expensive stuff for now: You'll see XLR microphones and audio interfaces that cost $300-500+. These require understanding gain staging, phantom power, and audio routing. Save this upgrade for after you've been streaming consistently for 6+ months and know you're committed.
Making Your Audio Sound Good
Your microphone is only half the equation—your room matters just as much. Hard surfaces (bare walls, windows, desks) bounce sound around and create echo. Quick fixes:
- Hang blankets or curtains on walls near your setup
- Add a rug if you have hardwood floors
- Position your mic 6-12 inches from your mouth
- Close your door and windows
If you want permanent improvement, DIY acoustic panels made from Rockwall insulation and fabric cost $20-30 each. Two or three panels strategically placed (one behind your mic, one behind where you sit) eliminate most echo problems.
Cameras: What Actually Works
Now that we've covered audio, let's talk about cameras. The good news: webcam technology has gotten really good in the past few years, and you don't need to spend much to look professional.
Webcam Recommendations
The standard: The Logitech C920s Pro HD ($50-70) or C922 Pro Stream ($70-100) have been the default streaming webcam for over a decade. The C920s shoots 1080p at 30fps with solid autofocus and surprisingly good image quality. The C922 adds 60fps at 720p. Both are reliable and proven.
Budget options: The Anker PowerConf C200 ($50-60) punches way above its price with 2K resolution. The NexiGo N60 ($30-40) gives you 1080p with a wide view—great for showing your whole setup.
If you want premium: The Razer Kiyo Pro Ultra ($300) has a huge sensor that performs incredibly well in low light and creates natural background blur. Only consider this after you've been streaming for months and know it's something you're sticking with.
The Lighting Trick Everyone Should Know
Want to know the fastest way to make your stream look professional? It's not a better camera—it's better lighting.
Proper lighting makes a $30 webcam look as good as a $300 camera. Poor lighting makes a $300 camera look terrible. This is the highest return-on-investment upgrade you can make.
Lighting Options
Ring lights: The Neewer 18-inch ring light ($45-60) gives you even, flattering lighting that eliminates shadows. You can adjust the color temperature from warm to cool. The Elgato Ring Light ($200) is the premium option if you want app control and maximum brightness.
LED panels: The Neewer 660 LED Panel (under $60) or Elgato Key Light Air ($130) give you directional lighting that adds depth to your image. These look more professional but cost a bit more.
The budget option: Face your setup toward a window and use natural light during the day. Add a cheap $20 ring light for evening streams. This works better than most expensive lighting setups.
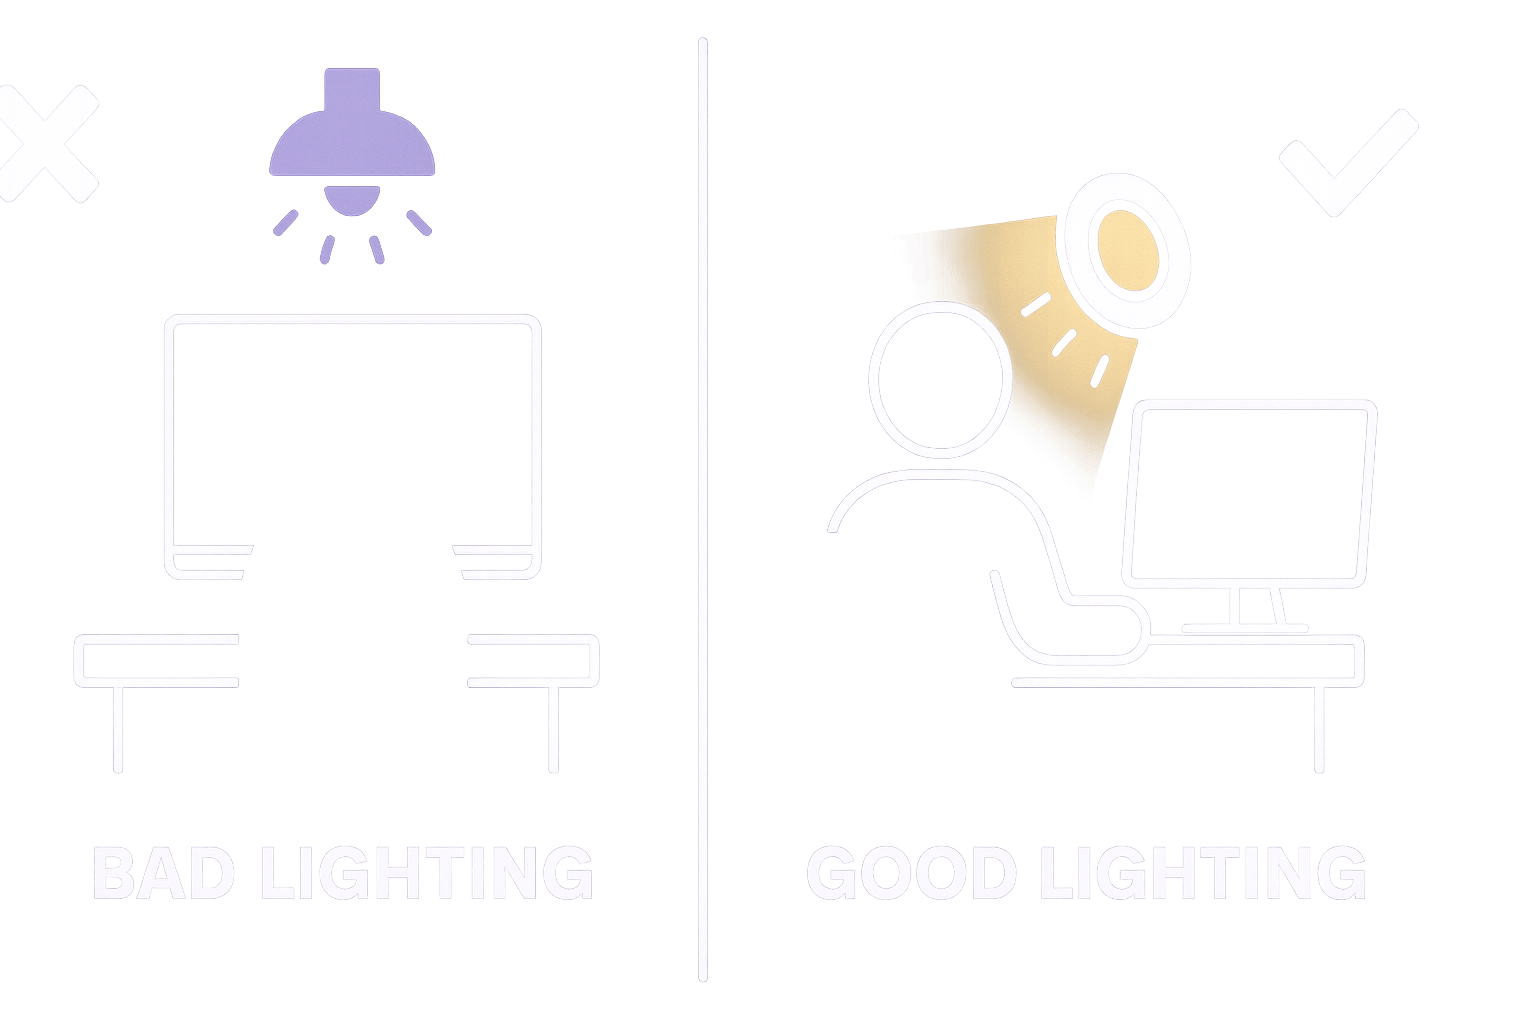
Quick Setup Tips
One rule makes everything look better: turn off your overhead ceiling lights. They create unflattering shadows under your eyes and chin. Instead, position a light at a 45-degree angle from your camera, slightly above your face. Your face should be the brightest thing in frame.
Capture Cards: Only If You're Streaming Console
PC streamers: Skip this section entirely. You don't need a capture card.
Console streamers: Remember how we said your PS5 and Xbox can stream natively but with limitations? A capture card solves that. It sits between your console and TV, captures the game feed, and sends it to your streaming software on a computer.
The Elgato HD60 X ($179-199) is the best value—it captures 1080p at 60fps while passing through 4K to your TV with no lag. The AVerMedia Live Gamer ULTRA 2.1 ($299) handles 4K at 144Hz if you have a high-end setup.
Most console streamers start with native streaming, realize the limitations after a few weeks, then pick up a capture card. That's a perfectly fine path.
The "Nice-to-Have" Upgrades
These items improve your workflow but aren't necessary when starting out:
Stream Deck ($150): Gives you physical buttons for switching scenes, adjusting audio, and controlling your stream. It's genuinely useful once you have a complex setup with multiple cameras and audio sources. For beginners running a simple one-scene setup? Keyboard shortcuts do the same thing.
Second monitor ($150-200): This actually makes a big difference. You can watch chat, monitor your stream health, and keep an eye on OBS without alt-tabbing out of your game. If you're going to buy one "nice-to-have," make it this.
Real Budget Breakdowns
Let's put actual numbers to this so you know what you're getting into.
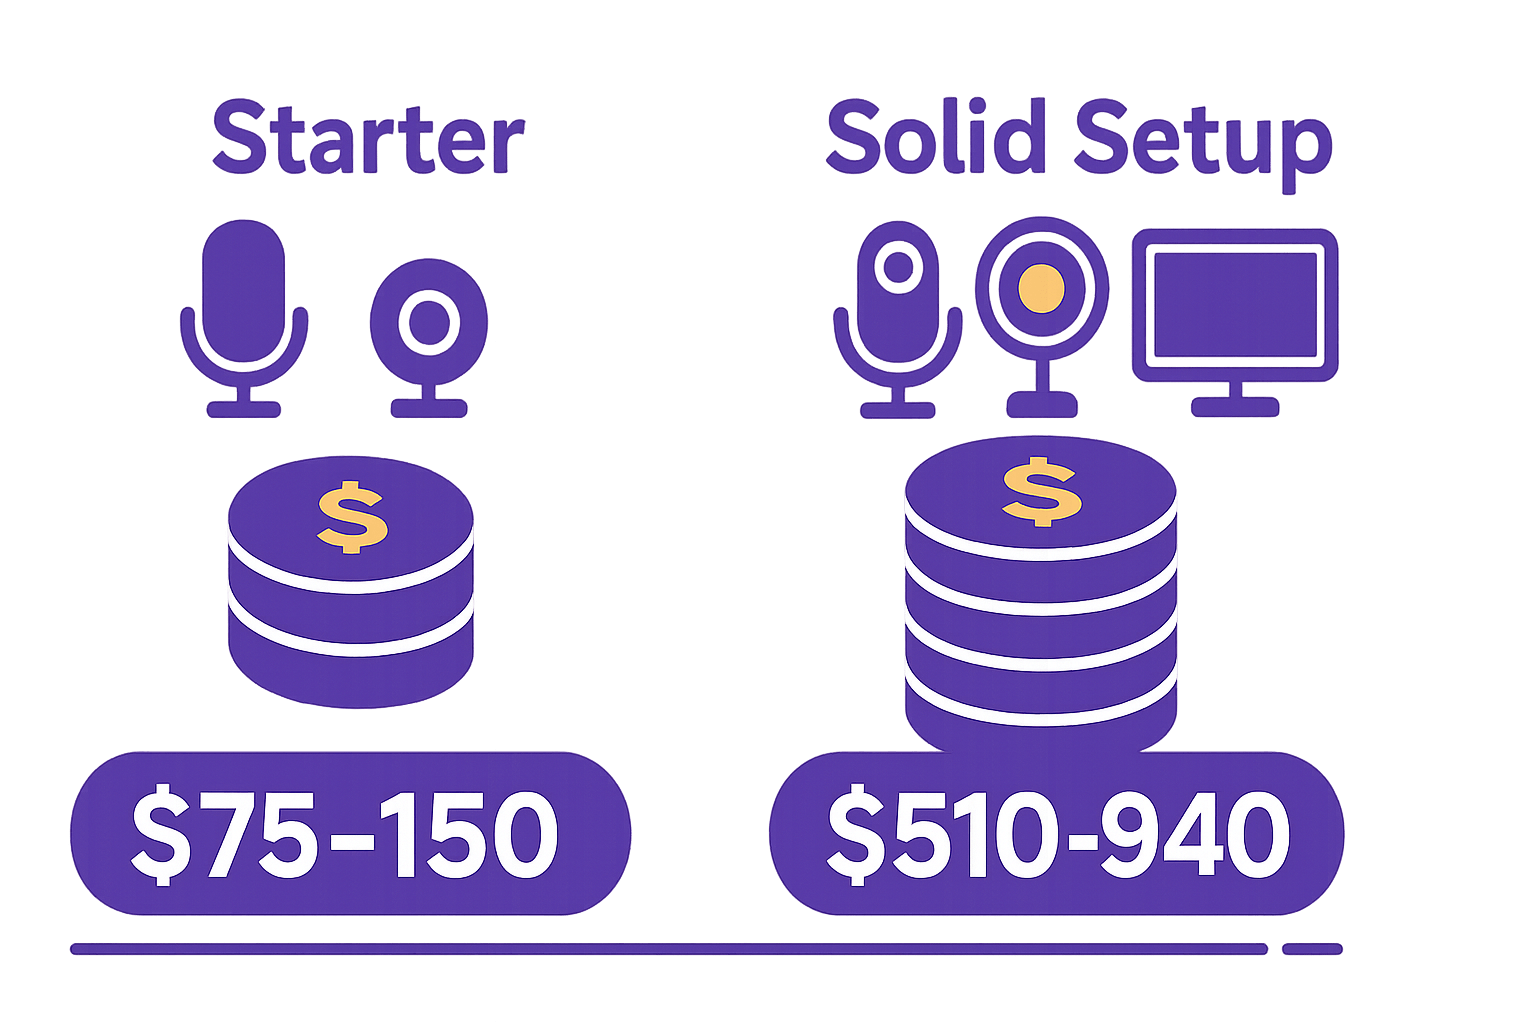
The Starter Setup ($75-150)
- Microphone: Fifine K669B or Blue Snowball iCE ($25-50)
- Camera: Your laptop's built-in or Logitech C270 ($0-40)
- Lighting: Desk lamp pointed at your face ($0-20)
- Software: OBS Studio (free)
- Total: $25-110
This is enough to start streaming today with acceptable quality. Upgrade your mic and lighting within 2 months if you're streaming regularly.
The Solid Setup ($510-940)
- Microphone: Blue Yeti or Shure MV6 ($130-150)
- Camera: Logitech C920/C922 ($50-100)
- Lighting: Neewer ring light or Elgato Key Light ($50-130)
- Capture card: Elgato HD60 X for console only ($0-180)
- Second monitor: Basic 24" display ($150-200)
- Accessories: Boom arm, pop filter, acoustic treatment ($100-180)
- Software: OBS Studio (free)
- Total: $480-940
This setup will carry you through your first year of streaming with zero compromises on quality.
What You Don't Need (Yet)
Save your money on these until you're streaming consistently:
RGB lighting everywhere. Those colored lights look cool in photos, but they don't improve your stream. Your face needs proper white lighting—that's it.
Expensive XLR microphone setups. The jump from a $150 USB mic to a $400 XLR setup is noticeable, but it matters way less than streaming consistently and being entertaining.
Stream Deck before you need it. If you're running a simple setup, keyboard shortcuts work perfectly fine.
4K cameras. You literally can't stream 4K to Twitch, and most viewers watch in 1080p anyway. A good 1080p webcam is plenty.
Your Path Forward
Here's the truth about streaming success: your equipment matters way less than your consistency, personality, and willingness to improve. A streamer with $200 of gear who shows up three times a week will build an audience faster than someone with $2,000 of equipment who streams randomly.
Start with what you have today. Use your laptop camera and test streaming with free software. If you enjoy it, spend $50 on a USB microphone. Stream for a month. If you're still having fun, add better lighting ($50-60). Stream for another month. Still going? Upgrade your camera.
Build your setup gradually, and let your audience growth fund your equipment purchases. Every successful streamer started with basic gear and upgraded as they grew.
Your first stream won't be perfect—and that's okay. The important part is clicking "Go Live" and starting. Your equipment will naturally improve as your skills, audience, and commitment grow.
The best time to start streaming is right now, with whatever you have. Let's go.
FAQ
What's the bare minimum I need to start streaming today?
A device to stream from (PC/console/phone), internet with 6-8 Mbps upload speed, and free streaming software like OBS Studio. You can use your device's built-in camera and mic to start, though spending $50 on a USB microphone will dramatically improve your audio quality.
Should I stream on Twitch or YouTube?
Both platforms work with the same equipment—a microphone, camera, streaming software, and stable internet. Twitch is better for live interaction and building community. YouTube is better if you want your streams to double as YouTube videos. Most beginners start with Twitch.
Do I really need a capture card for console streaming?
Not to start. Your PS5 or Xbox can stream directly to Twitch without extra equipment. It's limited (1080p only, Twitch only, no overlays), but it's perfect for testing if you enjoy streaming. If you're still streaming after a few weeks, then consider a capture card ($99-199) to unlock better quality and features.
How much should I spend as a complete beginner?
$75-150 covers everything: a basic USB microphone ($25-50), a webcam if you don't have one ($30-70), and free software. Stream with this for 1-2 months before spending more. Only upgrade once you know you enjoy streaming and will stick with it.
Is audio really more important than video?
Yes, by a huge margin. Viewers will watch a stream with basic video quality if your voice is clear and easy to hear. But if your audio is echoing, crackling, or hard to understand, they'll leave within seconds—even if your video looks amazing. Always prioritize audio quality first.